

GRD config is the application program used to configure the ERD equipment. It is also used to configure the GRDs.
This application was developed with an easy-to-use feature in mind to configure and monitor ERD equipment.
The Configurator is supported on the following platforms: Windows 2000, 2003, XP, Vista, 2008, 7 y 8..
For installation follow these steps:
Once installed you will see in the Programs menu a folder called Exemys. Inside the folder you will find another folder called GRD config; this folder contains the GRD config and Uninstall icons.
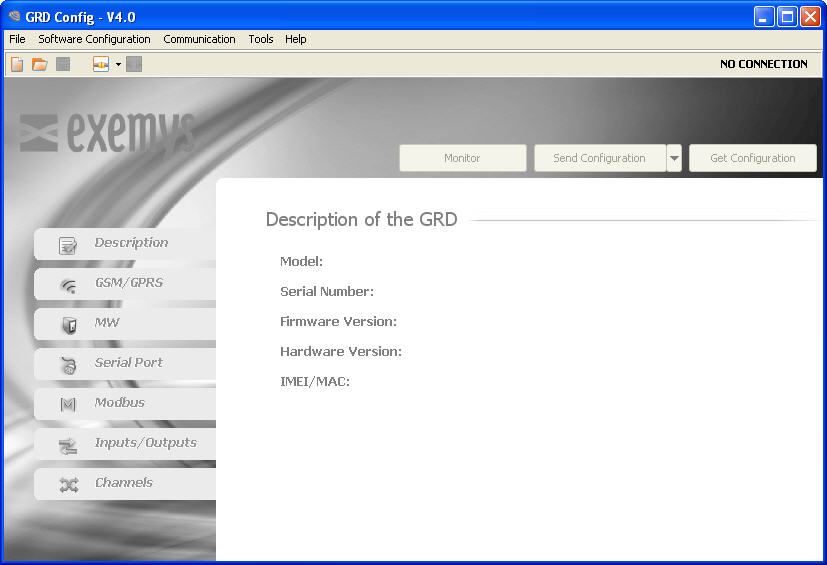
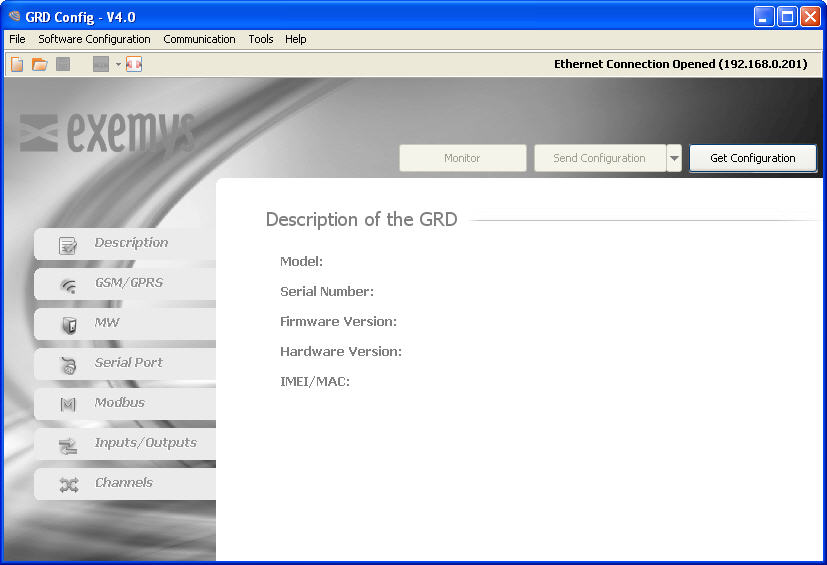
The following figure shows the main screen of the Configurator.
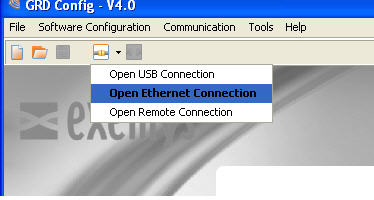
To connect to the ERD you must have the PC and ERD connected to the same local network using and ethernet cable.
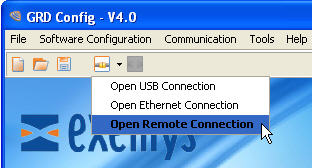
Then click on "Open Ethernet Connection" and the software will browse and list all the ERDs connected to the local network.
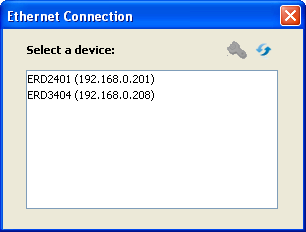
You'll see a list like this one
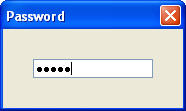
If your ERD has a password you'll be prompted of it. It's the same password used to connect the ERD to the MW.
To enter the ERD configuration double-click it on the list. After a few seconds you'll see a message on the top right saying that you are connected to the ERD by means of ethernet.
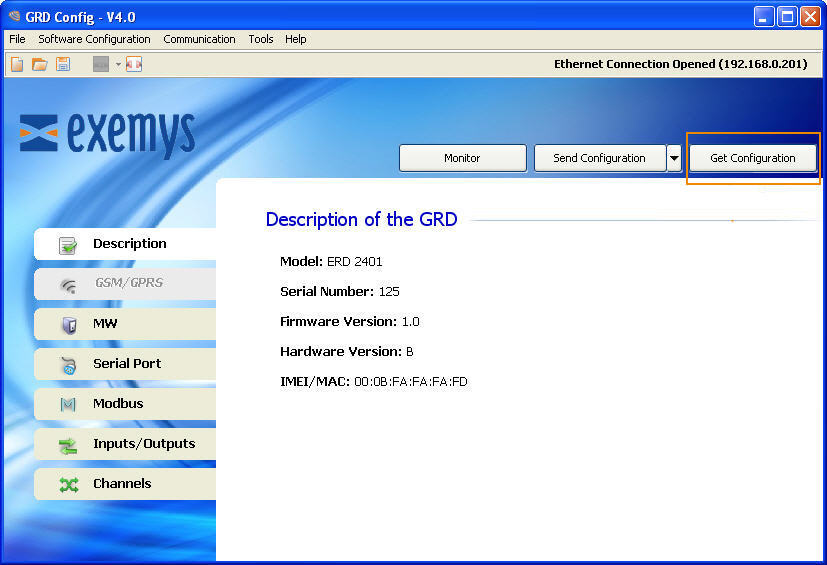
To obtain the parameters of the equipment you will have to press the “Get Configuration” button and all the ERD parameters will be displayed indicating on the first screen, the model, MAC address, etc.
You will always have to read the ERD parameters to be able to modify the parameters or for monitoring purposes.
|
If the Configurator finds an unknown model it will not enable any of the screens. In this case contact support@exemys.com to obtain the latest software version. |
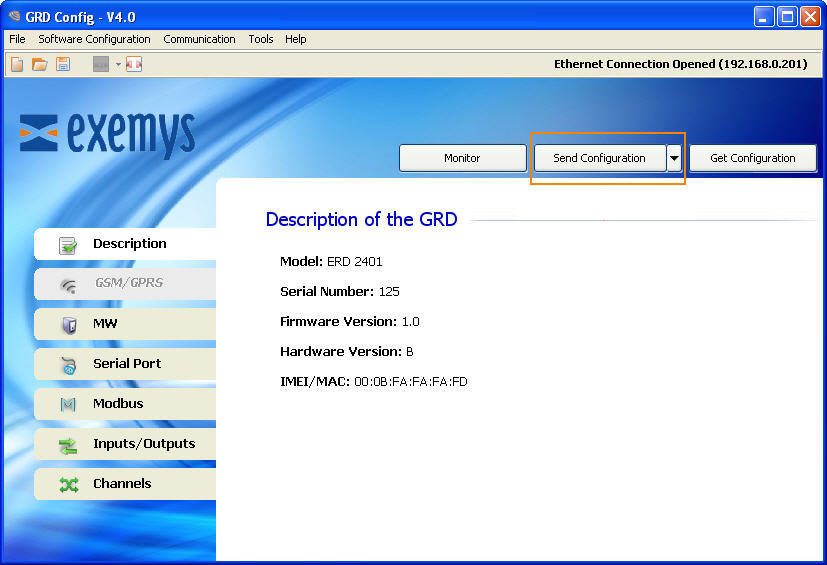
If you want to send to the ERD any change in the configuration press the “Send Configuration”.
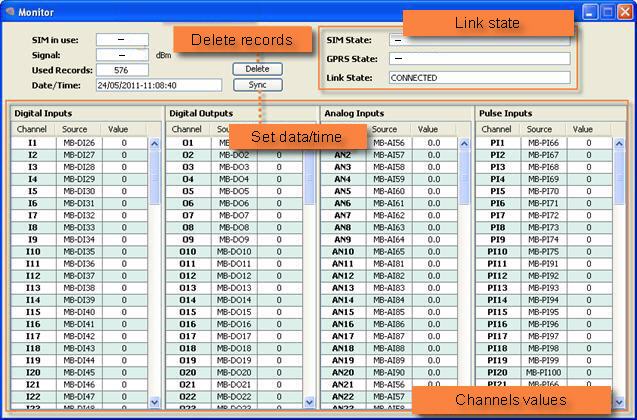
To access the monitoring area where all the ERD parameters can be seen, you should press the “Monitor” button.
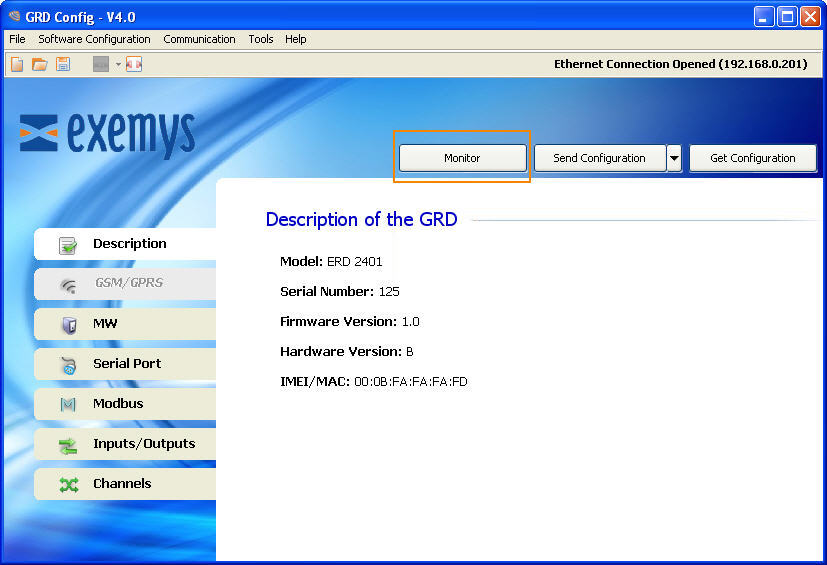
Once we enter monitoring the following screen will be displayed, in which we will be able to see the values of the input/output channels, the time, quantity of accumulated historics, the SIM in use and the states of connection of the equipment.
The configurator together with the MW have the capability to remotely access the configuration and monitoring of the ERDs, which means that they do not have to be connected locally to the PC. You must point out that the connection parameters of the MW cannot be modified this way.
We must load in the configurator the MW parameters to which we want to connect in order to have remote access to the connected ERDs y GRDs, we have to enter in “Software Configuration -> MW Connection”

We then have to configure the URL/IP, Port, User and Password
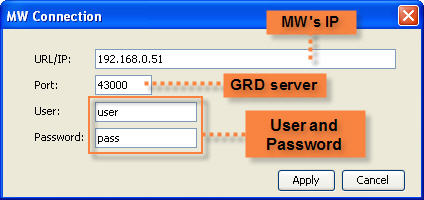
The IP address to be loaded is the one the MW is running on, and the port is the one configured to have access to it.
We will now see how to configure these parameters in the MW, entering in Configuration -> Advanced” and then in the subsection “Remote Configuration”.

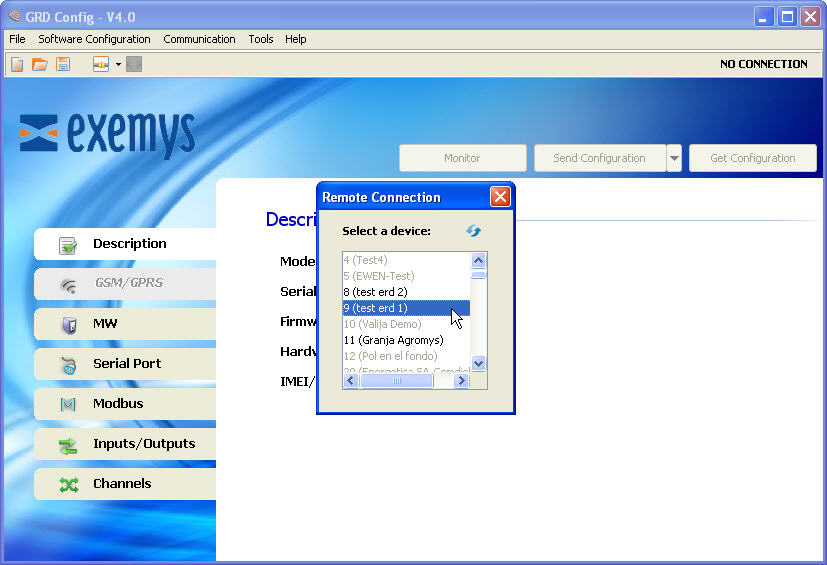
To connect remotely to a ERD click on "Open Ethernet Connectio", then a window will be displayed with a list of the ERDs/GRDs. Those available appear in black and those in grey are not connected to the MW at that moment.
Double-click on the ERD/GRD you want to configure remotely. Then proceed as when you are connected locally.
“GRD Config” allows us to save the ERD configuration so if we have to configure many equipments the same way, we won’t have to load again the parameters one by one, the only thing to take into account is that the GRD ID number will have to be changed and avoiding to have a duplicate.
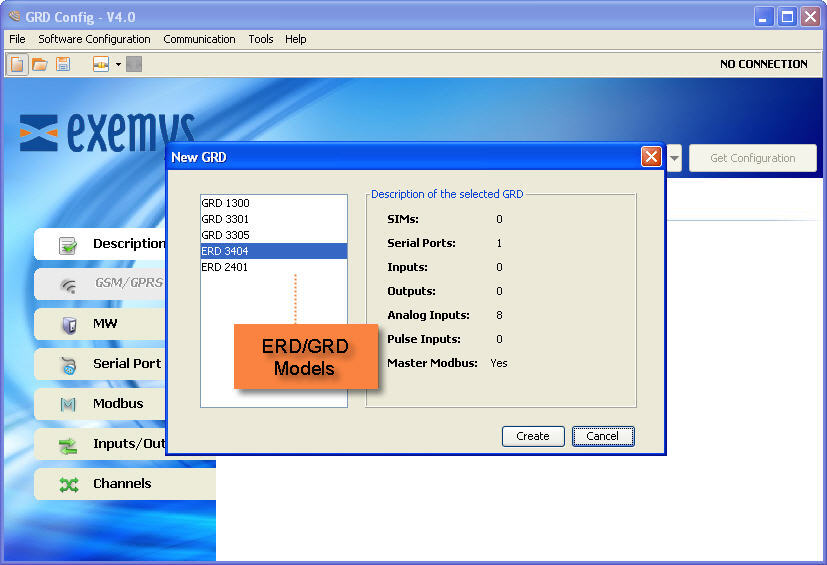
To create and save a configuration we don’t need to have a ERD connected, only clicking in “File -> New” or on the ![]() icon a list of the models will be displayed from which we make the selection.
icon a list of the models will be displayed from which we make the selection.
We then configure the parameters with “File -> Save As” or with the ![]() icon to load them later when the ERD is connected.
icon to load them later when the ERD is connected.
Once the configuration is saved, we can open it and load to multiple ERDs entering “File -> Open” or with the ![]() icon.
icon.
